SSL certificate ACTIVE  

BALLASTING THE TRACK
After laying the track and fully testing it by running trains in all direction at all speeds the next thing to add is ballast the track.
The method I am going to show you is using loose stones of a suitable size (depending on the gauge you are modeling) which is available in various colours in different grain size.
There are other ways but this is the most popular with railway modellers.

Materials required to ballast your track

Below is the basic way to apply and glue down the ballast

Now purchase the ballast, which comes in bags or plastic tubs in the colour you prefer; the common one is grey blend.
The first thing to do is vacuum clean the area you are going to ballast to ensure there are no loose parts.
Now cover the track with a thin layer of ballast taking care to avoid points at this stage.
The next thing to do is carefully run a small brush over the surface of the gravel and start to spread the ballast material to a leave just below the sleepers and arrange the adges so the ballast slopes away from the track edge for about 6mm in 00 gauge but reduce this to around 3mm in N gauge.
This is just a guide as this may vary depending if it is a single line or more lines. Arranging the position of ballast is the longest part of the job and must not be rushed. If you are not happy with the result vacuum it up and start again. You will not be able to start again after it has been glued without a lot of time and material waste.
When you are sure and happy with the appearance of your ballast the next this to do is turn it into a solid foundation for the track. This is done by covering the ballast with liquid glue which is a mixture of
  • 50% PVA glue (wood/hobby grade)
  • 50% water
  • 2 small drops of washing-up liquid
The water is to thin the liquid glue so it will flow like milk and detergent to remove surface tension from air trapped in the ballast so it flows in and around all the stones. 
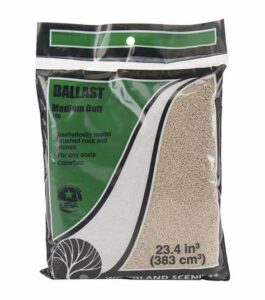
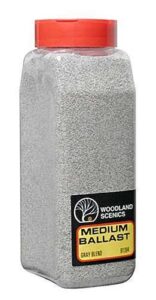
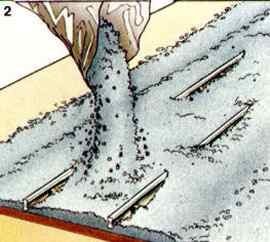
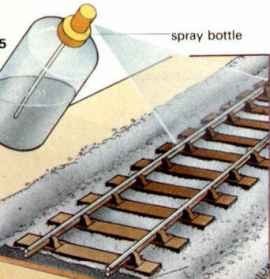
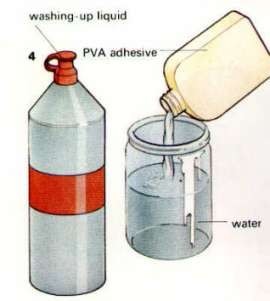
Firstly a light spray of water with a very small amount of detergent in it would also help dampen the area before applying the glue.
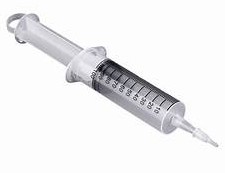
The glue can be applied from a eye dropper papet, a tea spoon, or even sprayed on but be sure not to move the ballast while adding the glue.
When first put on the area looks just like milk has been spilt over it but after an overnight drying period the glue should have gone hard and become transparent.
The next operation after the glue has gone hard is to vacuum up the complete area to ensure any loose gravel is removed from the track.

Below are a few video’s to help you with the ways to apply and glue the ballast

For those who prefer to buy a ready made product this ballast glue is available from all good model shops.
Now rub the top surface of the track with a track rubber block to remove any surface dust and dried glue to ensure electrical contact with the locomotives, then once again, vacuum the whole area.
Now run a wagon over the area to check that there are no pieces of gravel fouling the flanges of the wheels. If there is then remove with a small knife and again vacuum the area.
Weathering colour wash to the ballast and rust on the rails can be added as required. Strong cold tea can be very effective as a colouring wash.
Never run a locomotive over the area that has  just been ballasted and glued until the glue is completely dry and all the complete area has been vacuumed cleaned.
If you are tempted you may well end up with a big repair bill.